How to Set Up a Digital Camera on Your Kosher or Filtered Phone
Learn digital camera setup on filtered and kosher phones step by step. Adjust settings, fix common issues, and get sharp photos without internet distractions.

Most phones with cameras these days come loaded with browsers, social media, and a hundred other distractions you never asked for. So what happens when you've got a filtered or kosher phone and you want to actually use the camera well?
Setting up a digital camera on a restricted device isn't complicated, but it's different enough from a standard phone that a little guidance goes a long way. Whether you're working with a purpose-built phone that includes a camera or you've picked up a standalone digital camera to keep things simple, we'll walk you through the digital camera setup process, the settings that matter most, and how to troubleshoot the common headaches before they ruin your next family photo.
Why Camera Setup Matters on Restricted Devices
Here's the thing most people don't think about until it's too late: a camera on a filtered phone doesn't always behave the same way as one on a standard device. Features you might take for granted, auto-upload to cloud storage, built-in editing suites, QR code scanning, are often stripped out or permanently disabled.
That's actually a good thing. It means fewer distractions and more privacy. But it also means you need to be a little more intentional about your digital camera setup from the start.
On purpose-built phones like the Fig Flip II Pro or the Fig Core, the camera hardware is genuinely solid. We're talking 50MP and 13MP sensors, respectively. The capability is there. You just need to know how to get the most out of it when certain software shortcuts aren't available.
And if you've gone the standalone camera route, say, a dedicated device without WiFi or Bluetooth, setup matters even more, because there's no cloud backup catching your mistakes. Get the settings right once, and you're set.
Understanding Camera Access Across Phone Types
Not every phone in our lineup has a camera. And the ones that do offer different levels of quality and control. Let's break it down.
Talk-Only and Basic Flip Phones
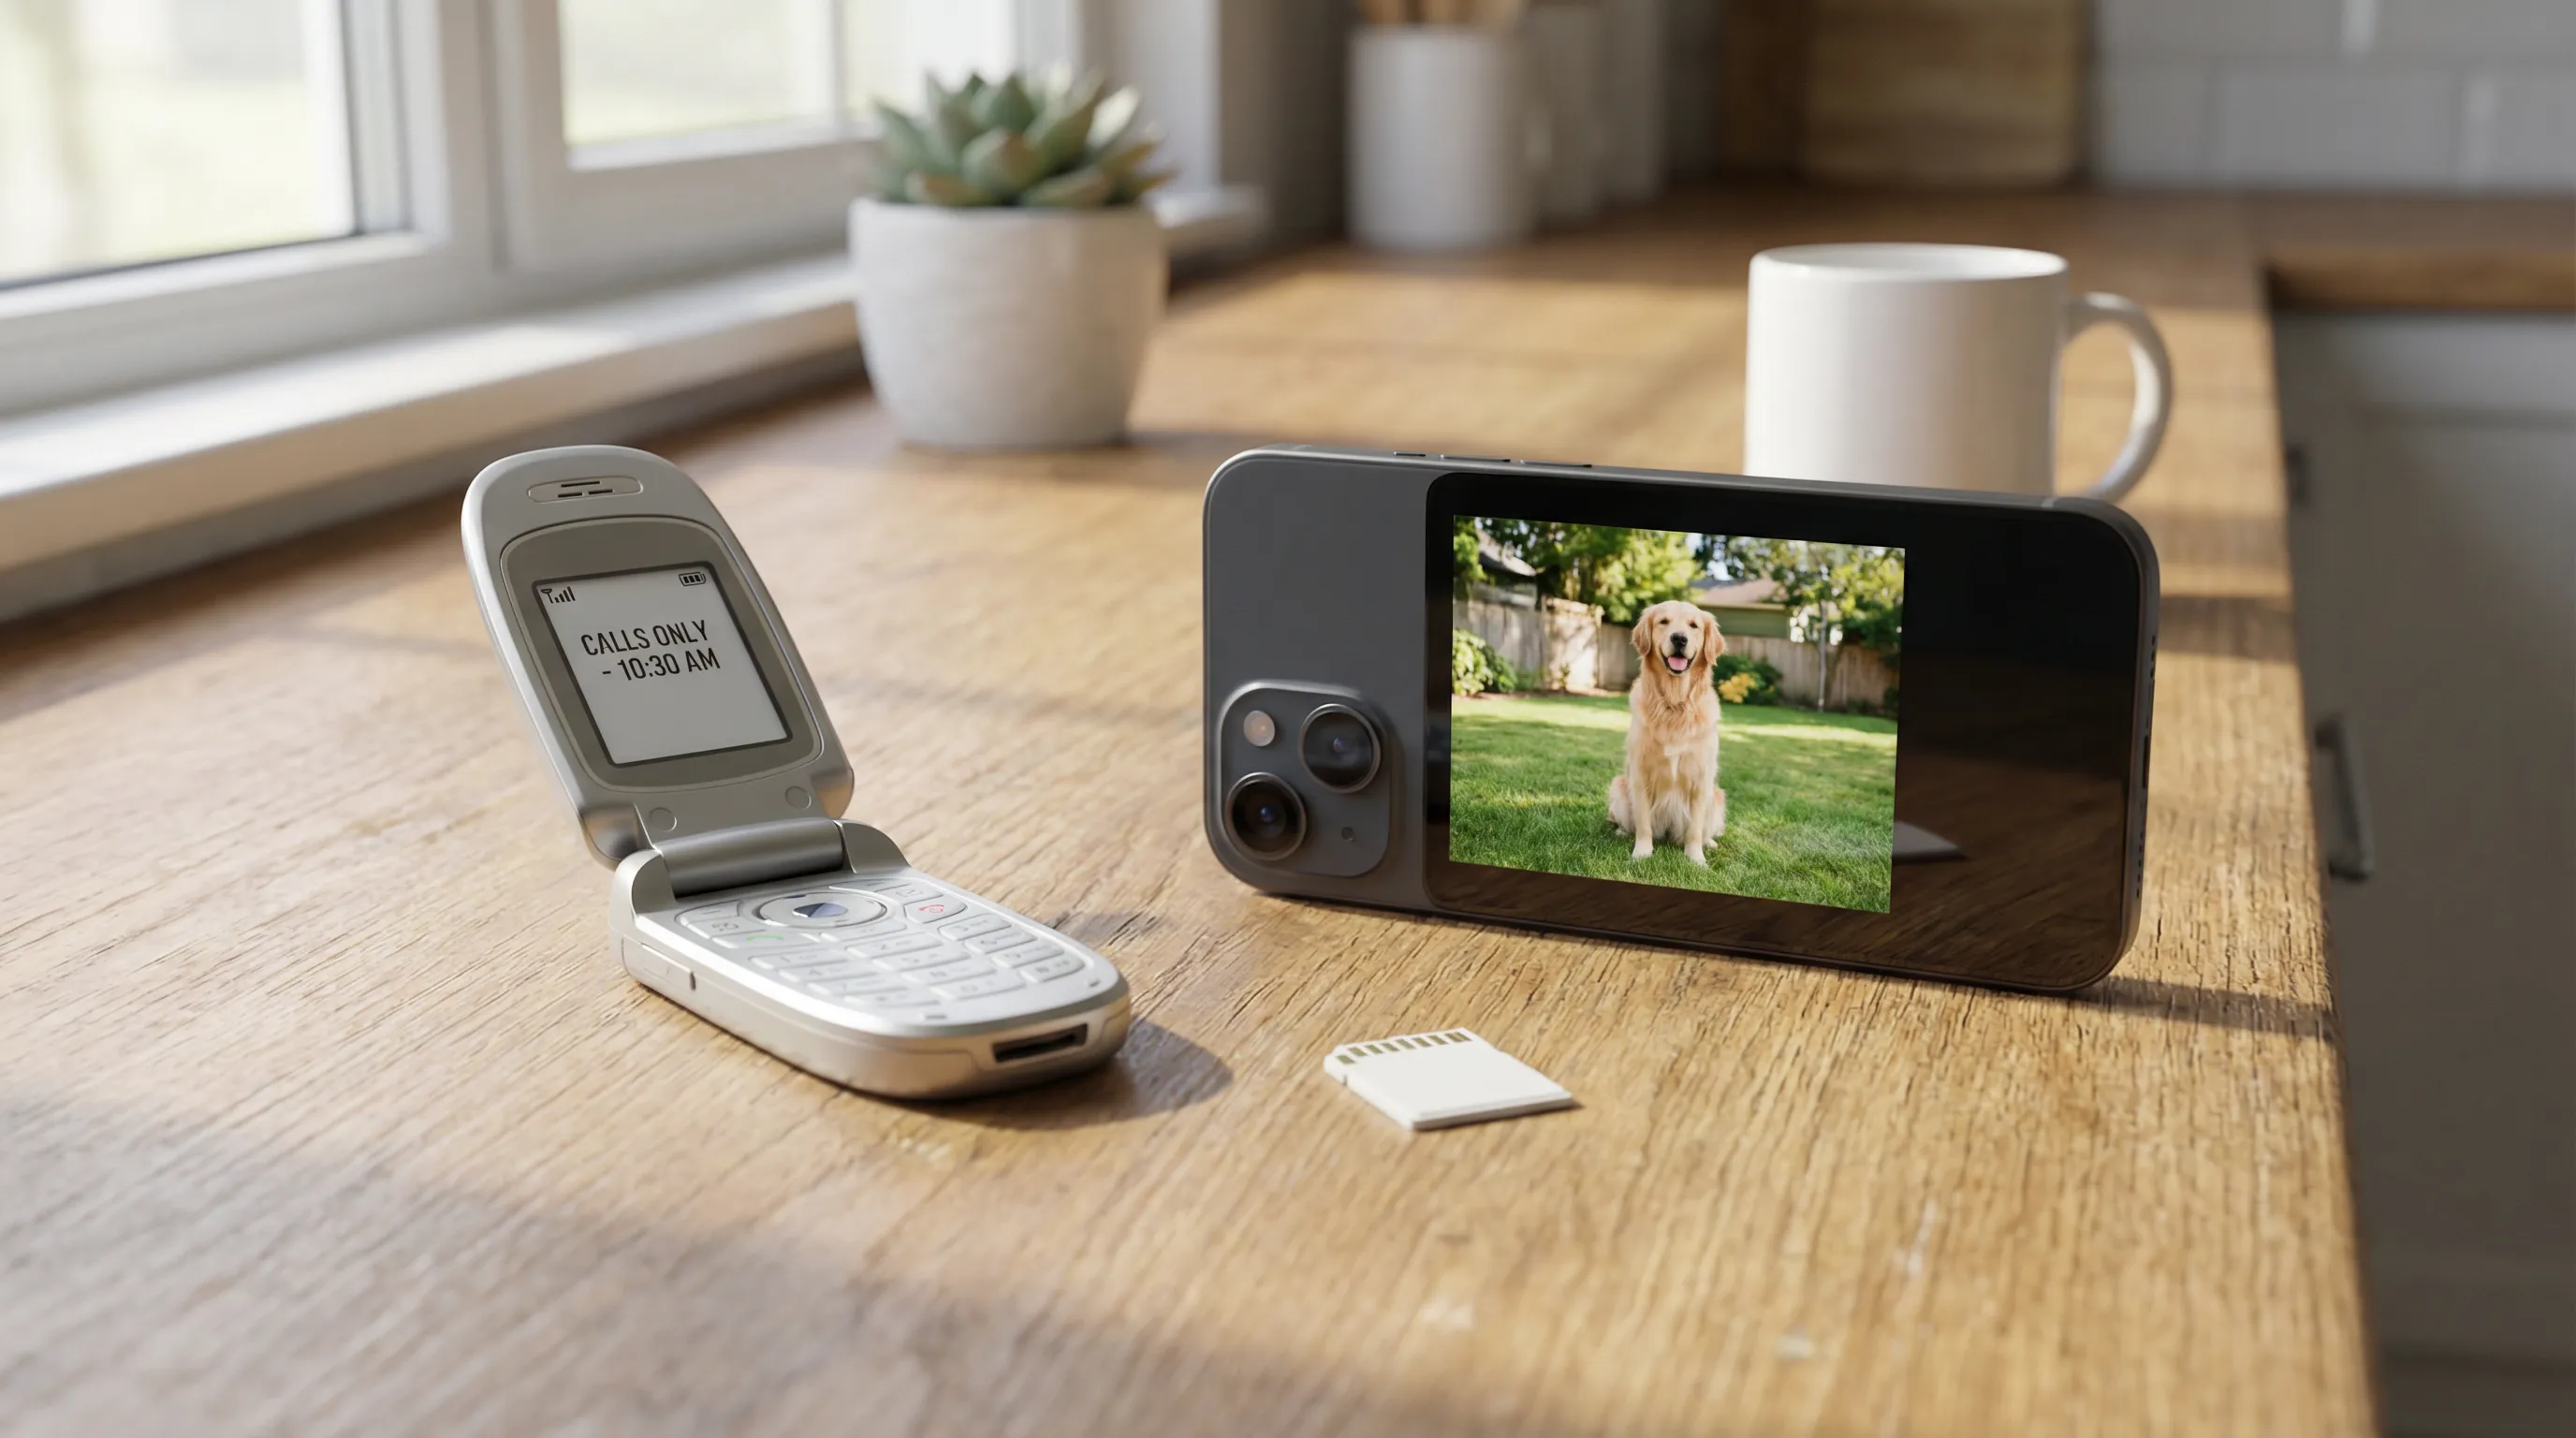
If you're using a talk-only phone like the TCL Flip 2 or the E-Talk, there's no camera to set up. These devices are designed for calls and basic utilities, calculator, alarm clock, that sort of thing. Camera functionality simply isn't part of the package.
Same goes for configurations at the Talk-Only access level on purpose-built phones. Even if the hardware includes a camera sensor, it's disabled at the software level. That configuration is permanent.
So if photos matter to you, make sure you're choosing a phone at the Talk + Media level or above, or pick up a standalone digital camera.
Filtered Smartphones and Purpose-Built Devices
This is where things get interesting. Phones like the Fig Flip II Pro (50MP camera), Fig Mini , Wonder Phone, and Mind Phone all include cameras, but without the browser, social media, or cloud services that typically come bundled in.
What does that mean in practice? Your photos stay on the device (or on a memory card, depending on the model). There's no automatic Google Photos backup. No Instagram sharing prompt. You take a photo, it saves locally, and you transfer it when you're ready.
For many families, that's the whole point. Photos belong to you, not to the cloud.
Step-by-Step Digital Camera Setup
Whether you're setting up the camera on your filtered phone or configuring a standalone digital camera, the basics are the same. Here's how to get started.
1. Check your access level.
Before anything else, confirm your phone's configuration includes camera access. Phones set to Talk + Media, Talk + Text, Talk + Text + Navigation, or Talk + Text + Apps all include the camera. Talk-Only does not. Remember, this configuration is permanent and can't be changed after purchase.
2. Insert your memory card (if applicable).
Some phones and standalone cameras use MicroSD cards for extra storage. If yours does, power off the device, locate the card slot (usually behind the battery or under a side panel), and insert the MicroSD card in the correct orientation. Don't force it, if it doesn't slide in easily, flip it around.
3. Power on and open the camera app.
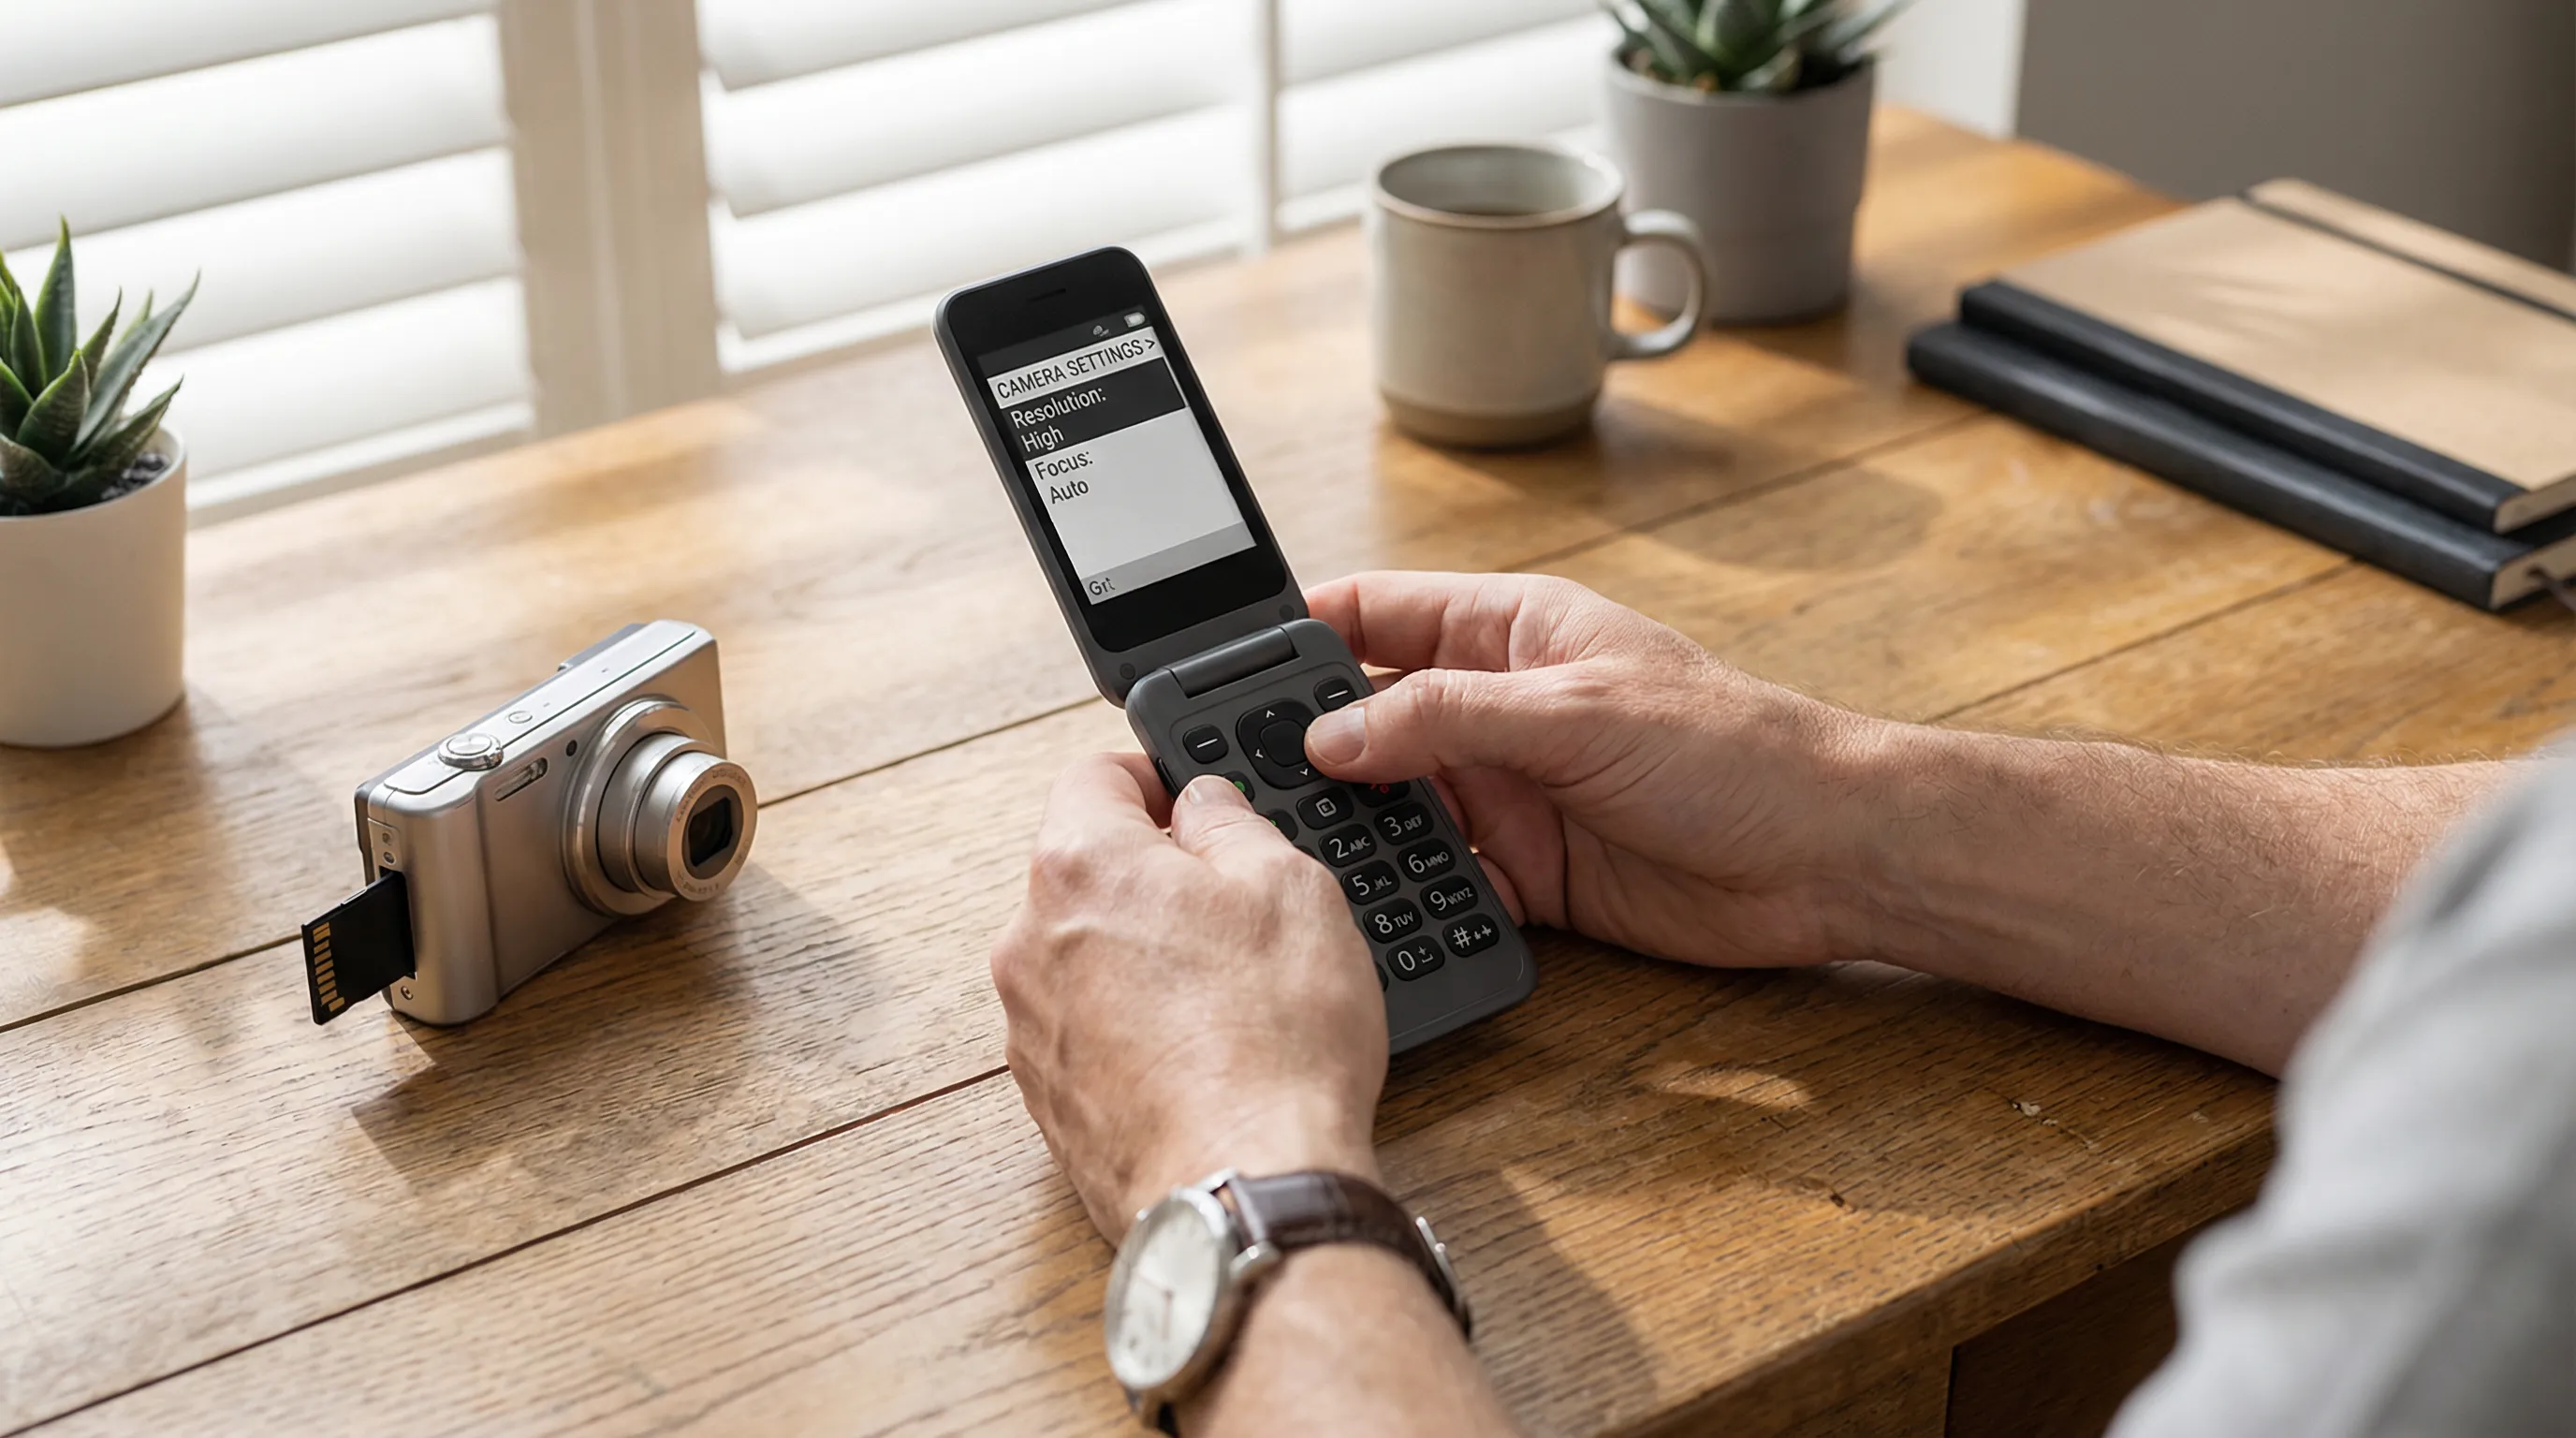
On most purpose-built phones, the camera app is accessible from the main menu or a dedicated shortcut button. There's no app store to download anything from, it's already there. Open it up.
4. Familiarize yourself with the controls.
You'll typically see options for:
- Shutter button, takes the photo
- Switch camera, toggles between front and rear cameras (if both are available)
- Flash toggle, auto, on, or off
- Gallery shortcut, view photos you've already taken
5. Take a test shot.
Snap a quick photo of something nearby. Check the result in your gallery. Is it sharp? Is the exposure decent? If it looks good, you're ready to go. If not, read on, the next section covers settings adjustments.
For standalone digital cameras designed for kids or filtered use, the process is similar: charge the battery, insert the memory card, power on, and start shooting. Most come ready to go out of the box.
Adjusting Camera Settings for Everyday Use
You don't need to be a photography expert. But a few quick adjustments can make a real difference in your everyday photos.
Resolution and image quality. Set your camera to the highest resolution available. On the Samvix UCamera X8400, for example, that's 48MP with 12x optical zoom, plenty for sharp, detailed shots. Higher resolution means larger file sizes, so make sure you have enough storage space on your MicroSD card.
Flash settings. Auto flash works well in most situations. But indoors under fluorescent lighting, you might get better results with the flash forced on. Outdoors in bright sunlight, turn it off to avoid washed-out faces.
Scene modes. Many cameras and phone camera apps include scene presets, portrait, landscape, night, macro. These automatically adjust exposure, focus, and color balance for specific situations. They're worth trying, especially in tricky lighting.
Zoom. Digital zoom on phone cameras tends to degrade image quality. If you're using a standalone camera like the Samvix UCamera X9200, you get true 12x optical zoom, that's actual lens magnification, not software cropping. Big difference in quality.
White balance. Leave it on auto unless your photos consistently look too warm (yellowish) or too cool (bluish). In that case, switch to the preset that matches your lighting: daylight, cloudy, incandescent, or fluorescent.
Common Camera Issues and How to Fix Them
Even simple cameras have their quirks. Here are the problems we hear about most, and the fixes.
Blurry photos. Nine times out of ten, this is camera shake. Hold the phone or camera with both hands, tuck your elbows against your body, and press the shutter button gently, don't jab it. In low light, prop the camera against something stable. If your device has a timer mode, use a 2-second delay to eliminate shake entirely.
Photos too dark or too bright. Tap the screen (on touchscreen models) to set the focus and exposure point. If the subject is backlit, standing in front of a window, for example, tap directly on their face so the camera exposes for them, not the bright background.
Storage full. Transfer photos to a computer via USB cable, then delete them from the device. Or swap in a larger MicroSD card. The 64GB and 128GB options hold thousands of photos.
Camera app won't open. On filtered phones, this usually means your access level doesn't include camera functionality. Double-check your configuration. If you're at Talk + Media or above and it's still not working, a simple restart often fixes it. If that doesn't help, reach out to our support team, we're available via 24/6 live chat.
Grainy or noisy photos. This happens in low light when the camera bumps up the ISO (light sensitivity) to compensate. The fix: add more light. Turn on a lamp, move closer to a window, or use the flash. Even a small amount of extra light makes a noticeable difference.
Tips for Getting the Most Out of a Limited Camera
A camera without internet doesn't mean a camera without potential. Here are a few practical tips we share with customers all the time.
Clean the lens. Seriously. Phone camera lenses collect fingerprints and pocket lint constantly. A quick wipe with a soft cloth before you shoot can dramatically improve clarity. This is the single most overlooked tip in photography.
Use natural light whenever possible. Position your subject facing a window or step outside. Natural light is more flattering than any flash, and it's free.
Get closer instead of zooming. Unless you have optical zoom (like on the Samvix UCamera S7 with its 16x zoom), physically moving closer to your subject will always produce a sharper image than pinching to zoom on a phone screen.
Back up regularly. Without cloud sync, your photos live on the device or memory card. Get into the habit of transferring them to a computer weekly. A lost phone or a corrupted card shouldn't mean lost memories.
Try different angles. Don't just stand and point. Crouch down to a child's eye level. Shoot from slightly above for group photos. Small changes in perspective make ordinary snapshots look intentional.
And honestly? The best camera is the one you actually use. A 13MP sensor on a phone you carry everywhere will capture more moments than a fancy camera sitting in a drawer.
Conclusion
Getting your digital camera setup right on a filtered or kosher phone takes about five minutes of intentional effort, and then you're good. Check your access level, adjust a few settings, and start shooting.
The cameras on today's purpose-built phones are genuinely capable. And if you want even more, optical zoom, higher resolution, dedicated controls, standalone cameras like the Samvix UCamera X8400 and Samvix UCamera X9200 deliver serious quality without any internet connectivity.
Not sure which setup is right for you? Browse our cameras and devices for kids and families, or reach out to our team via 24/6 live chat. We'll help you find the right fit, whether that's a phone with a great built-in camera or a dedicated device that does one thing really well.
At KosherSignal, we configure every phone before it ships and stand behind every product we sell. If you need a camera that works without the distractions, we've got you covered.
Frequently Asked Questions
How do I set up a digital camera on a filtered or kosher phone?
Start by confirming your phone's access level includes camera functionality (Talk + Media or above). Then insert a MicroSD card if applicable, open the camera app from the main menu, and take a test shot. Adjust resolution, flash, and white balance settings for best results. The entire digital camera setup takes about five minutes.
Which KosherSignal phones include a camera?
Phones at the Talk + Media access level or above include camera access. Models like the Fig Flip II Pro (50MP), Fig Mini, Wonder Phone, and Mind Phone all have built-in cameras. Talk-Only phones like the TCL Flip 2 and E-Talk do not. Note that your chosen configuration is permanent and cannot be changed after purchase.
What is the best standalone digital camera without WiFi or Bluetooth?
KosherSignal offers several internet-free standalone cameras. The Samvix UCamera X9200 delivers 48MP with 12x optical zoom and 5K video, while the Samvix UCamera X8400 offers similar resolution at a lower price point. Both provide excellent quality with zero internet connectivity.
Why are my photos blurry on a kosher phone camera?
Blurry photos are usually caused by camera shake. Hold the device with both hands, tuck your elbows against your body, and press the shutter gently. In low light, prop the camera on a stable surface or use a 2-second timer delay. Also, wipe the lens with a soft cloth—fingerprints and pocket lint are the most overlooked cause of unclear images.
How do I back up photos from a filtered phone without cloud storage?
Since filtered phones don't have automatic cloud backup, transfer photos to a computer regularly using a USB cable. You can also store images on a MicroSD card (64GB or 128GB options hold thousands of photos) and swap it out when full. Building a weekly backup habit ensures you never lose important memories.
What digital camera setup is best for kids and families?
For families, a dedicated camera for kids offers screen-free creativity with no internet distractions. The Samvix UCamera S7 with its 44MP sensor and 16x optical zoom is a great option. These standalone cameras come ready to use out of the box—just charge, insert a memory card, and start shooting.


.svg)